Offering the chance to get off to a good start, this dog-leg right par 5 is one of the easiest holes on the course. While reachable in two by longer hitters, a large green-side bunker narrows the approach. Be wary of going long with a back left pin position.
The key to this short par 4 is the uphill second shot. Come up short or spin the ball too much, and the ball will come back off the front of the green. Come in too low and the ball can skip over the green.
The shortest par 3 on the course, this hole offers players a good shot at birdie. Avoid the deep left bunker and be precise with your distance control.
While devoid of any bunkers, this hole plays as one of the more challenging on the course. With a fairway sloping either side of center, a precise tee shot is a must to have an open look at the flag.
Similar to Hole #2, this par 4 features an uphill second shot with a false front on the green. Players have multiple options from the tee to leave their preferred yardage for the second shot.
This is one of the few holes that favors a draw off the tee. A very fair hole, it will reward two good shots as equally as it will punish one or two poor shots.
Commented by some guests as the hardest par 3 in Chattanooga, the green appears open and inviting. However, it is particularly difficult to hit and just as hard to convert a birdie. Be happy with par as you start a difficult two-hole stretch.
The handicap 1 hole on the course, the tee shot must be faded to allow an open look at the green. It can be hard to gauge distance on the second shot, and long and right are very difficult up and downs.
Playing longer than the yardage due to an uphill tee shot, only very long hitters can reach this hole in two. A bowl on the right side of the green and trouble long make the back right pin position very difficult.
The back nine gets off to a difficult start with this downhill par 4. The two-tiered green is the signature feature of this hole, and two putts are guaranteed from nowhere. This hole is the gateway to several mountain views throughout the back nine.
A valley fronts this green, offering golfers multiple ways to play the hole. Reachable by some hitters, a good short game is the key to success here and will often reward players with a birdie.
Driver is not a necessity on this par 4, whose fairway slopes significantly to the right. While finding a flat lie for your approach is an uncommon occurrence, the second shot on this hole is one of the prettiest on the course.
The last of three par 5s, this hole can be reached in two by longer hitters. Others must target a small landing area on their second shot to avoid a blind third shot or delicate pitch. A slick green and out of bounds right mean anything can happen here.
Continuing the series of signature par 3s, golfers playing the gold tees must shape their shot into a narrow window to avoid out of bounds right and falling off the green left.
Running opposite of Hole #12, this fairway slopes significantly to the left. Players must factor slope for their second shot into this three-tiered green. Miss your target and you’ll be faced with a very difficult up and down.
Look left off the tee to see the prettiest view on the golf course. A dog-leg right par 4, this hole requires either a tee shot shaped from left to right or a club other than driver. Short left is best avoided on the second shot and be wary of running the ball by the hole on this very fast green.
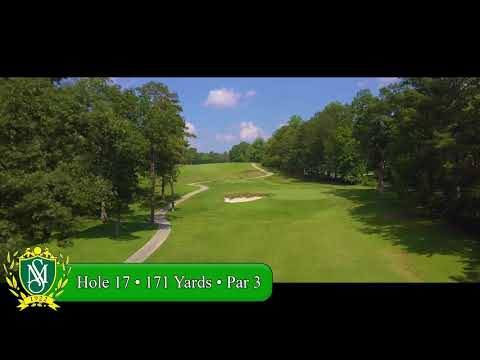
Golfers playing well must stay focused on the difficult final two holes. Immediately bordering this green is out of bounds right and a deep bunker left. One of the longer greens from back to front, being on the correct tier of this two-tiered green is a must to have a chance at birdie.
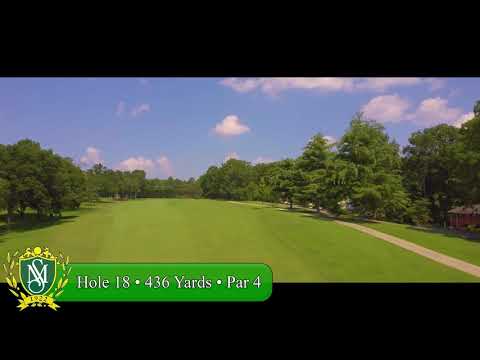
The longest par 4 on the course, this hole plays even longer due to an uphill tee shot. For most players, a mid to long iron or wood must successfully avoid the right greenside bunker and slopes front and left of the green. Up and downs are manageable on one of the flatter greens on the course.


